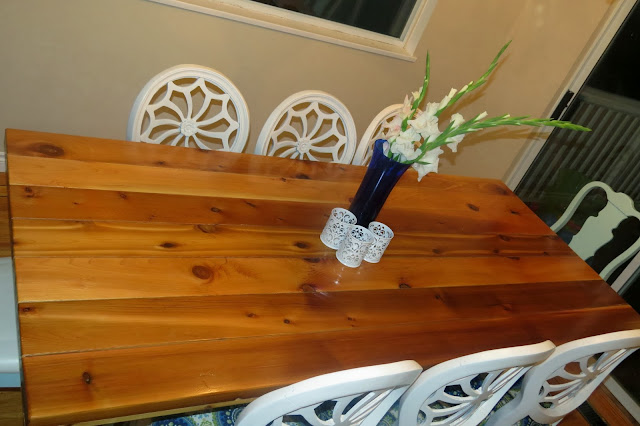
We made a few modifications to suit our own needs - I have done my best to summarize our process below. I must say this is my favourite creation to date and we have already had many nights of game playing, dinners with friends and are really enjoying our daily meals at this table. All said and done it took us about 5 days to complete and cost just over $200. I am confident that anyone could complete this project, and I am sure there are little things that can be improved, but for novice wood workers we are very happy with the way this turned out.
We went big and at 7 feet long can fit 8 - 10 for a great meal! We were able to find 2 matching table bases from a second hand furniture shop (a steal at $50 for the pair) to support this long table top. I am still working on a post about the chairs (they were a great find...but needed a little sweat to get them to what you see below).
Once we settled on our design (and decided the length) we made a list and hit the hardware store. We decided on Red Cedar (which came in 2 x 6 x 8) at home depot and used pine for the framing underneath. We bought the following:
- 6 planks ( 2 x 6 x 8) of red cedar (we selected carefully and looked for pieces that we liked the look of and had them cut down to 7 feet long at the store)
- 2 planks of (1 x 6 x 8 ) pine (used underneath for framing)
- 3 pieces of (1 x 2 x 8) pine (used underneath for framing)
- 100 wood screws
- 2 quarts of polyurthane seal (+ brushes)
- 1 tube of silicone caulking
- Tack cloths (to remove debris prior to sealing
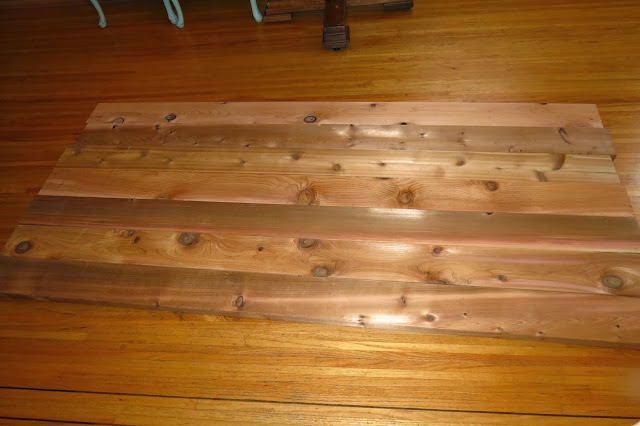
Next we laid out a pattern of how we wanted the table to look (which planks looked best and in what order).
Since we used 2 x 6's we decided to beef up the frame slightly from the original design. We also need a space wide enough to affix the table bases.
We flipped over all the boards and worked from the bottom side (of our chosen arrangement above) and started to screw the planks together using the pine as framing starting in the middle (measuring to find the middle of the table). We cut down the pine to fit across the width of the table and screwed away (we used at least 10 screws per pine plank). We used the whole box of 100 - it definitely added strength. I ended us sitting on top of the planks and holding them in place while the hubby screwed.
Then we added additional framing on either side (where we would later attach the 2 table bases).
Then came the time consuming part of the project, sanding and sealing. Since we intended on using this table for a lot of eating, we used clear silicone to seal the gaps in between the planks so food particles would not gather there over time.
We sanded the table top and all of the framing around the edges, and then 6 coats of polyurethane (something that the hubby did all of and I was so grateful).
and shortly after.. our first round of carcissone (looks pretty good). We can't wait to host our first big thanksgiving dinner in October.


No comments:
Post a Comment